You can synchronise the data from an MYOB Business ledger to a client file in Client Accounting. After syncing the ledger, any changes made to the source ledger will automatically synchronise overnight into the Client Accounting client file or can be refreshed manually.
Once the file is synced, you can start working on the file in Client Accounting.
Make sure you're ticked as an Administrator in the MYOB Business file. Go to Manage users to see what type of access you have to the file
Syncing a ledger
After you’ve linked a client from Practice Compliance, follow the steps below to set up sync.
Click Set up automatic sync.
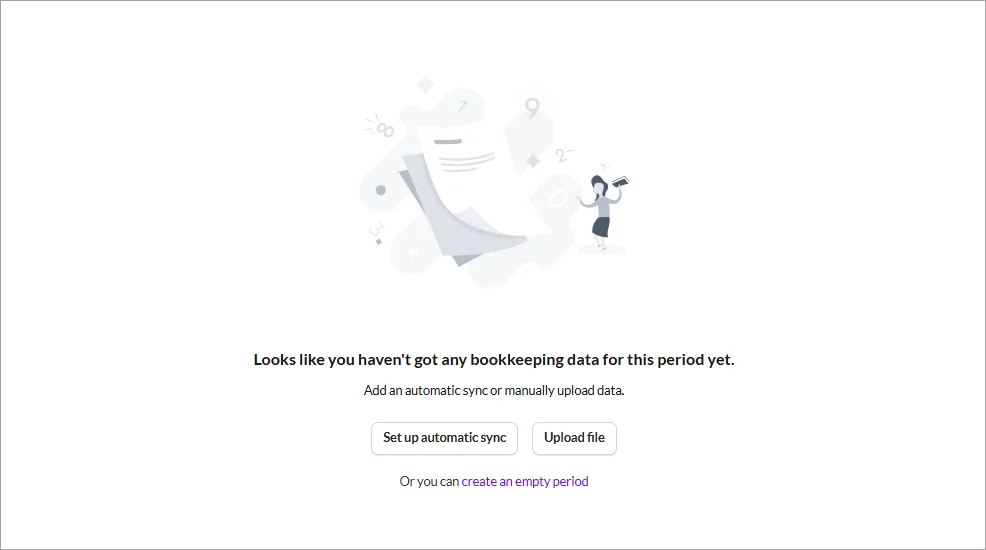
If you have a client with:
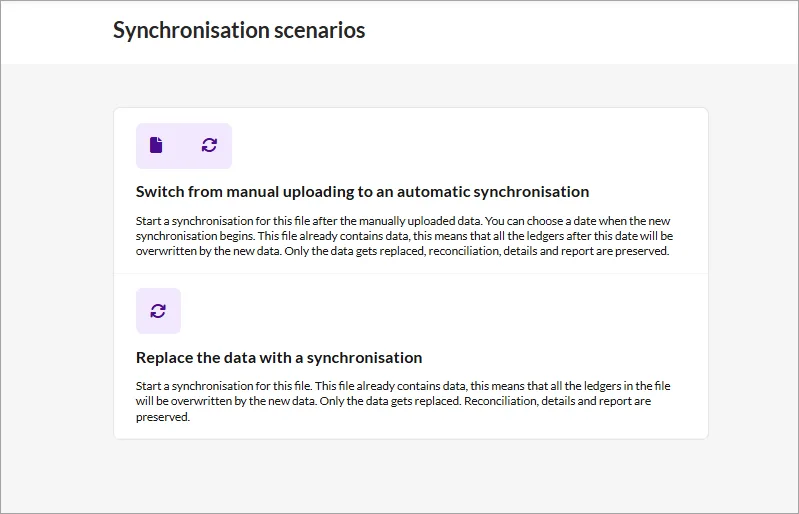
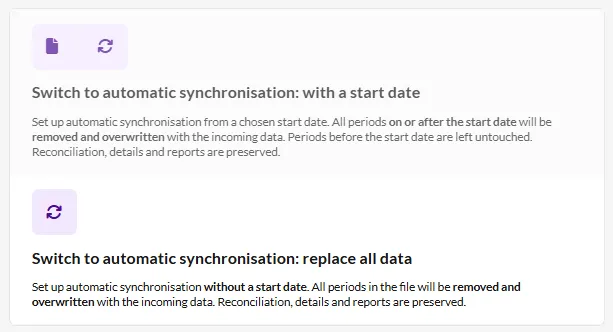
more than two years of data, choose Switch from manual uploading to an automatic synchronisation. This will let you select the data from which synchronisation begins.
one or two years of data, choose Replace the data with a synchronisation. This will synchronise all data in the file.
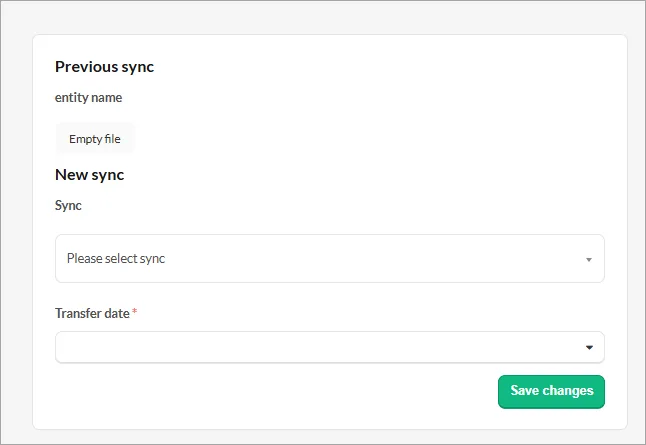
In the Sync settings window, click Please select sync.
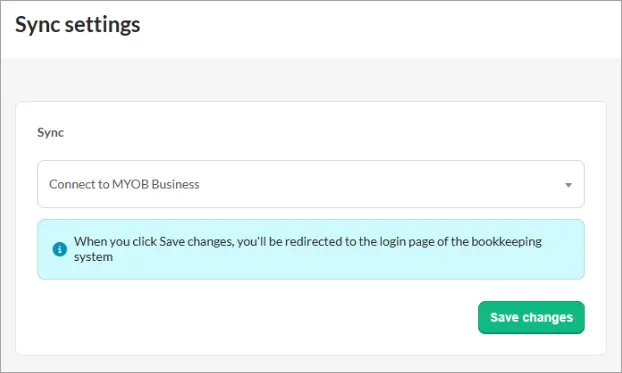
In the drop-down, under ADD A NEW SYNC choose Connect to MYOB Business.
Select Save changes.
In the next window, select the MYOB Business file and click Connect.
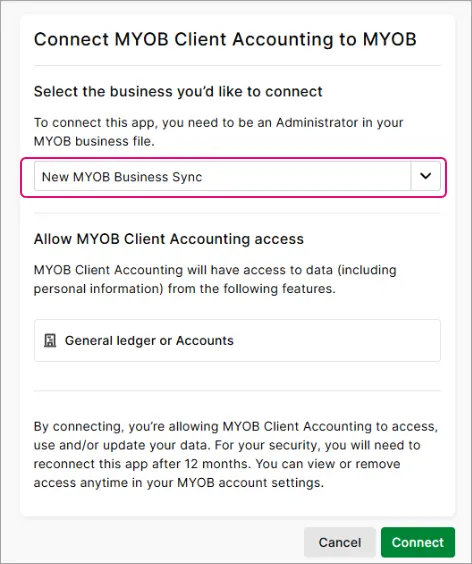
Confirmation window appears.


Updating sync settings
If you need to update from one sync to another, or from manual to an automatic sync, see Updating synchronisation settings
Updating from existing sync to a new sync
Use this option if you need to change the sync. If you want to update an already linked client in Client Accounting,
Open the client, go to the Client Overview page and select Edit client.


Go to the Sync tab and select Setup Sync.
In the Synchronisation scenarios window, select either updating from manual sync to automatic sync or changing the existing automatic sync.
Follow the prompts in the next window to set up the sync.


Using filters to view the status of sync
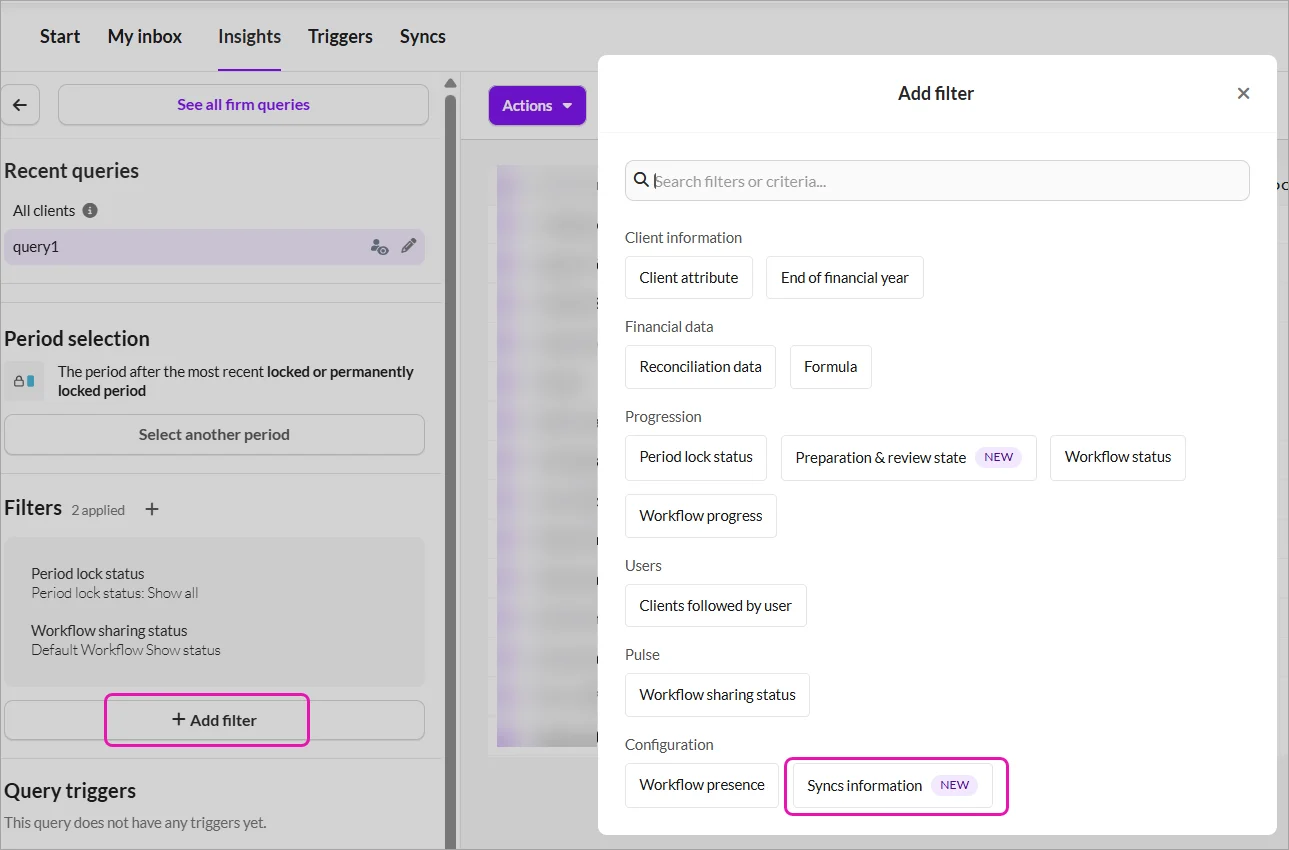
You can create a filter in Insights to view the status of the syncs, including whether they failed or showed any errors.
Create a filter to view sync statuses
Go to the Insights tab and select Add filter.
Using this filter, you can see
Sync type
Sync name
Sync reference
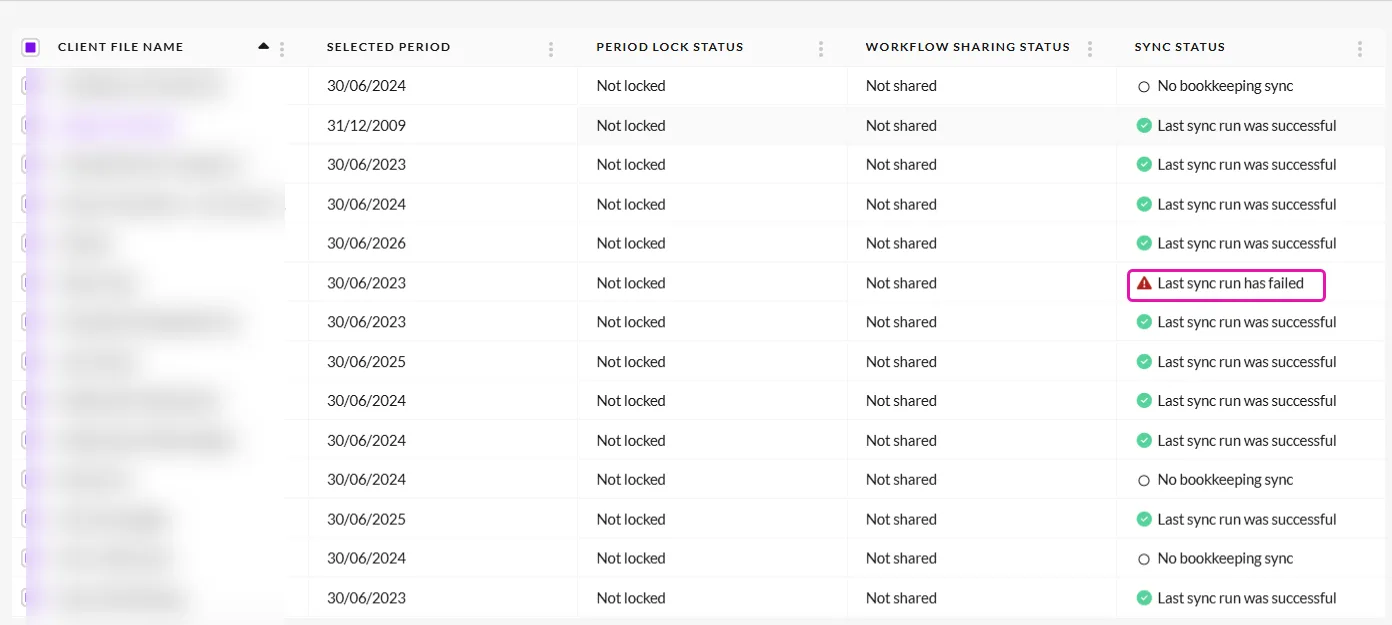
Sync status
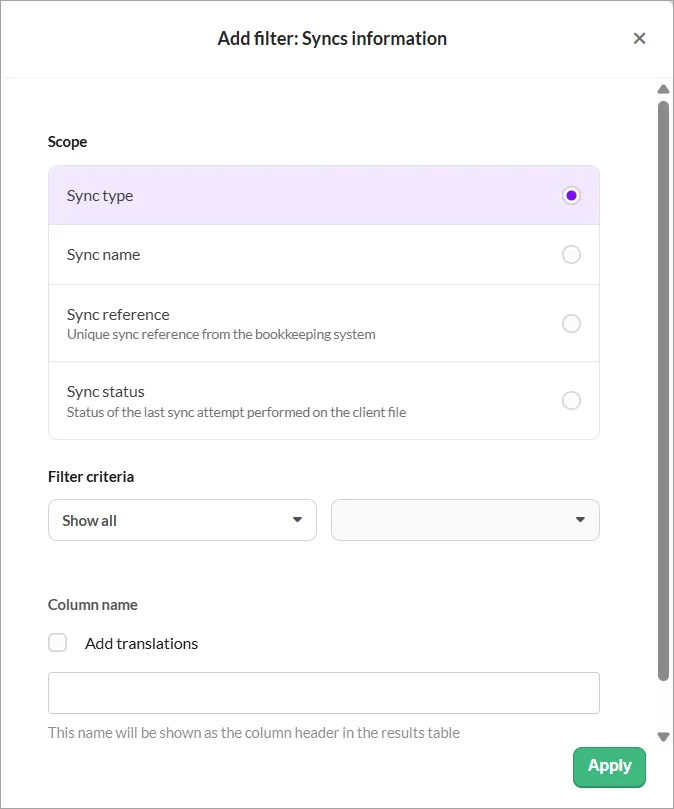
The Sync status column in your results includes a tooltip showing the most recent error message and the timestamp of the latest sync attempt, whether successful or not. Each status also links directly to the client overview page.


Data source options available
Different data sources to add client data
Data source | Description | Details |
Sync | Switch from manual uploading to an automatic synchronisation Use this option to choose a date to start the sync from. | Moving from manual file uploads to a live sync and works well if you’ve purged transactions in MYOB AccountRight and have more than 2 years of comparative data Let you choose a sync start date, so earlier manually uploaded data stays unchanged. From that date onward, bookkeeping changes sync automatically If the file already has data, transactions after the selected date will be overwritten with new synced data. Only transaction data is replaced, workpaper details and reports don’t change. Available when you setup the client for the first time. |
Replace the data with a synchronisation Syncs all data. | Best when the existing imported data is incorrect or out‑of‑date, and you want to fully refresh it from the ledger. All existing balances in the file are overwritten by the synced data. Reconciliations, details and reports are kept, but make sure to review after the refresh. Syncs data overnight or on manual refresh. Pulls through all periods and transactions. Best for newer files with one or two years of comparative data. | |
Upload file using CSV or Excel formats | Imports a snapshot of a trial balance from a CSV/Excel file | Data is uploaded once |
Create an empty period | Starts the period with no data | No sync. You can choose to set up a sync or upload data later |